- updated 7th/11th/13th/16th/23rd/29th March/11th April/1st/27th May/
6th July/2nd August/4th December 2009
Theme: Peak Oil, the Transition
Movement....
- and
how to turn a bramble-infested
wilderness into a vegetable garden!
PART 3: The Great Rebuilding
23rd March: I've now split this up into several pages as there are so
many images!
Quick links to the other parts:
1. Peak Oil
&
the Transition Movement 2. Garden
Clearance 3. Garden
Rebuilding
4. Garden
Planting 5. Garden
growing 6. The Harvest
BACK
TO WEATHER-BLOG MENU
New!
Fine Art Prints & digital images for sale-
Welsh Weather
& Dyfi Valley landscapes Slide-Library - Click HERE
| 7th
MARCH 2009 A month after starting out on this project, we were able to begin unearthing the garden. We started at the lower part and are working upwards. On March 2nd, this was the area of the water butt....  ...whilst to its L was the remains of a stone retaining wall. By digging the collapsed part out, and removing stones from around and below the water-butt (necessary in any case, in order to get at bramble roots), enough stone was made available to do an effective - if not particularly attractive - rebuild. Before:  ....and after! The stacked paving slabs formed a small patio area in the foreground, covering perfectly good soil - so up they came, save the strip in the background (useful path). They would have their uses later...  Meanwhile, another small growing area has emerged by the water-butt:  Grubbing around in general on the 2nd produced many piles of roots to burn (brambles will easily regenerate if their root-systems are just left lying around). A bonfire afternoon was needed, and root-burning in weather that involved repeated hail-volleys required plenty of deadwood to get a hot core established - thankfully we had not gotten carried-away in previous bonfires and had saved a lot of dead and part-rotted hazel etc, which obliged! View of part of the garden on the afternoon of the 5th:  By "pub-time" on the 5th, the garden was largely free of surface debris. The fire was "walled-in" after this photo was taken, with the remnants, consisting of a messy and useless mix of soil, roots, twigs, thorns and leaves: this would smoulder away for the next 48 hours and convert much of the offending material to ash......  On the 7th, I started work on a damp drizzly afternoon, digging the ground. It dug and crumbled in an encouragingly easy manner, with the occasional pause to gather roots that had come up. Working uphill from the rebuilt stone wall, I carried on until the gradient behind me became too steep. Then, I arranged some of the slabs on-end as a retainer for the next terrace, as the photo shows. The next bed up has only been dug for a few rows. Below, a trench has been opened. Manure will be placed along the bottom of this and dug in, before the trench is filled. Above the trench I have put down a path of woodchip - abundant and free wherever crews have been removing overhanging branches along our roadsides. It ought to discourage weeds and should the runner beans for which the trench was created thrive, it will make a useful access-way in order to get at them.  In this bed, too, will be a row of onions, with nasturtiums along the wall-top; above the retaining slabs we are considering sweet peas as another important flowering crop in order to bring in pollinating insects - and they are great nitrogen-fixers, as are all legumes. But in the meantime, the next bed up has to be dug, and the next retaining-wall put in, before a very steep section is encountered. UPDATE 11th MARCH 2009  The next bed of rather good soil took just two hours to dig on March 9th (lots of roots extracted) and on the 10th the next paving-slab retaining wall was put in and another woodchip path laid.  As these images show, the steep bit above was to be challenging digging, but determination and a good sense of balance saw the job done! The image below shows it finished. Luckily it can be tended from above or below with any long-handled hoe, thus minimising the need to trample the ground....   A quick tot-up of time spent and fuel consumed up to March 12th, by the end of which the rest of the roots had been burned and the beds mulched with manure i.e. ready to plant in a few weeks: 11 round trips from home to the garden = 13.7 miles. This was because a lot of heavy tools were taken to and from there each time during the early stages. The manure-gathering trip = 16 miles Total = less than 30 miles or under a gallon of diesel Petrol consumed by chainsaw: approximately one gallon Man-hours: approximately 50 Conclusive proof that the main energy input has been of a muscular nature!! UPDATE 16th MARCH 2009 Just a bit of tidying, digging a 5th bed and path-laying on the 15th - but the light was better and I had an ultrawide lens handy! The left-hand side is pretty much complete now. Test-pitting beyond the dug area reveals ochreous subsoil just half a spade-depth down - most likely no good this year, though compost wil sort it in another 12 months!    UPDATE 23rd MARCH 2009 The right-hand side of the garden remained to fathom out and this I attacked on the 20th. It consisted of a flat lower section, then a steep rise, then a drystone wall with a level section above:  The wall was crawling with bramble and other roots so I decided to demolish it and move it downhill about 3m, atop a steep earthen bank. The base-stones were enormous so I figured this would hold and got building:  Continuing with the theme of trying to make use of things on site, I used Ash branches, handily sized more by luck than anything else, to buttress-up the top terrace:  Here it is looking down. All dug and manured. I had continued digging until I hit more shale than soil - the top bit of the garden is incredibly stony. Also, the week of fine weather had dried the mud on the steps, so that got swept clear:  Overview of the cultivated area:  It would soon be time to start planting. This I started on the 22nd March. The root-pile from digging these beds was needing to be burnt!  ....but a week of rain-free, sunny weather had left the bracken that leads into the forestry above tinder-dry. So I waited until Monday 23rd and lit the fire moments before the expected rain arrived. You can time rainfall arriving easily - go to the Met Office website and find the Rainfall Radar. This shows where rainbands or showers are and have been over the past few hours. By clicking back an hour at a time, you can easily figure out how fast a rainband is progressing, and thereby arrive at a good guess of when it will reach you....  ....on this occasion I was about 5 minutes out!  UPDATE 29th MARCH 2009 On March 28th I finally built the last of the beds at the top of the garden: 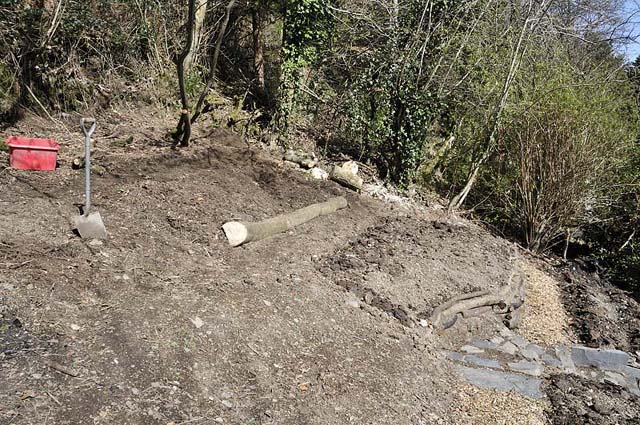 This was always going to be the "problem patch". The topsoil in this upper area consisted of about two inches of nice leafmould and earth, resting on the ochre-coloured subsoil full of slaty fragments that typifies subsoils in well-drained locations across this area, away from river flood-plains. I think the topsoil must have been stripped from this entire area long ago, for use elsewhere in the garden. The problem was solved by removing the topsoil from areas around this bed that were being used (or earmarked) for non-growing purposes such as paths, storage, bonfires etc. The ground was manured and this scraped-up soil was carried to the new bed to build it up and up. Here, the job is ongoing: 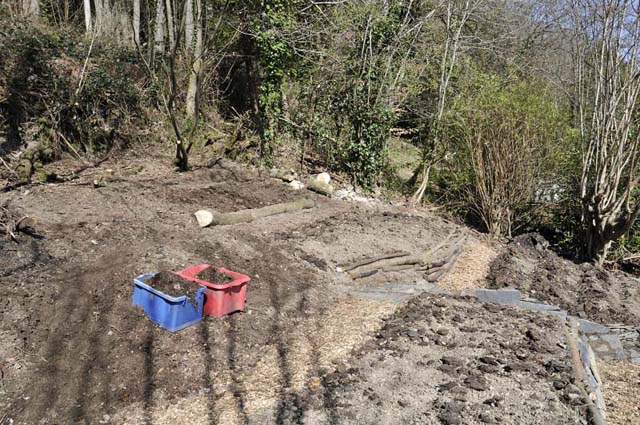 Just above the bed is a straggly sallow-tree that is unfortunately right in the way: however, having watched a Comma butterfly flitting about its flowers, there was no way I could have cut it down there and then. What I intend doing is coppicing it at the right time of year and perhaps even moving it back a little. I'll ask people who know more on such things whether this should be feasible. Here's the finished bed, with room for three rows of potatoes - won't be long before planting-time now! 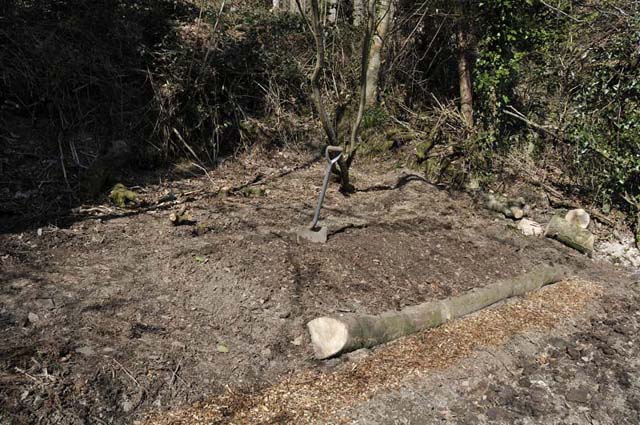 ...and the view downhill, also showing the lighter lower part, now that the hedge has been lowered to a sensible level! 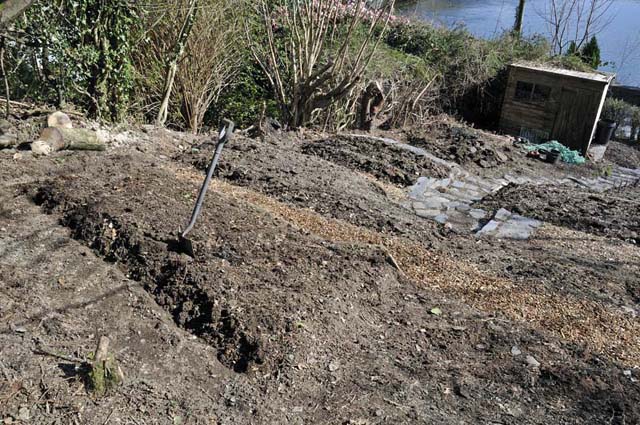 UPDATE 11th April 2009 Following a week or so away, the earmarked potential polytunnel area down by the shed - the only untouched bit in other words - was sorted out in a couple of sessions - a temporary raised bed and a flat bed, with the concrete hard-standing left as a useful storage space. The decision was taken simply because we weren't getting round to finding a small polytunnel, so we figured we might as well get a crop off this bit anyway.... 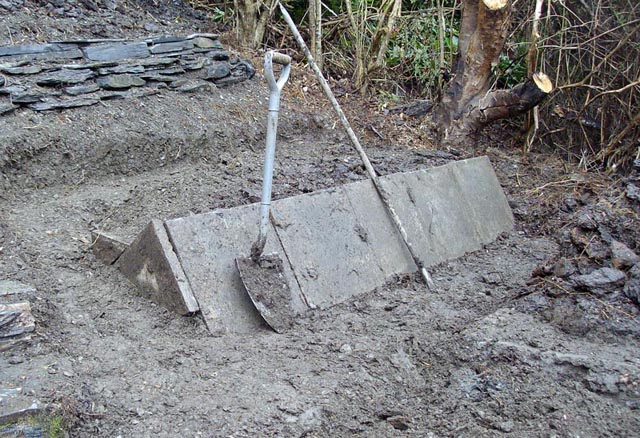 This was done in rather wet conditions on April 10th - not the best for working soil as you can see!  But it came together pretty quickly anyway.....  View from the top, April 10th. I added a final touch with the weed incinerator/barbecue (lower part of photo) having found some decent bricks in a skip!  UPDATE 1st May 2009 With a very dry second part to April, thoughts then turned to water. No mains here so water either has to be brought in or caught on-site. This top L area looked promising for storage but we are still waiting for news of large containers! Nevertheless, it was cleared a little more.... 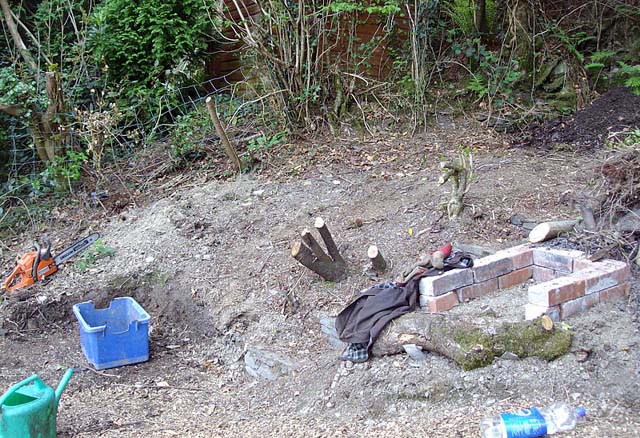 ....including moving the compost heap right to the top of the garden - it was simply in the way where it was. Tidying this area resulted in the discovery of lots of good topsoil beneath a pile of junk that the bank had collapsed onto many years ago, so another raised bed was constructed! 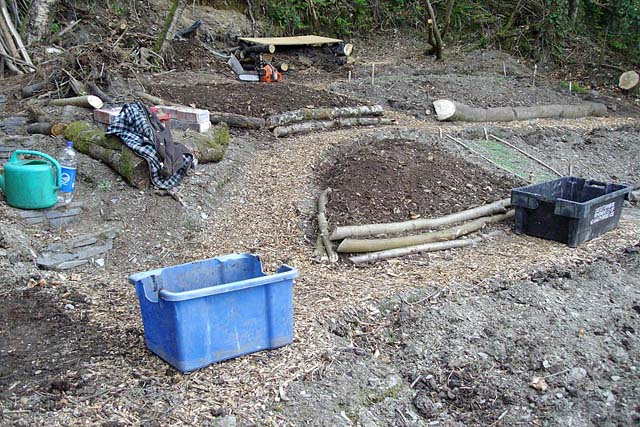 Attention was then turned to water-capture, whilst waiting for the main storage facility. This spare tarpaulin was folded in two lengthways and tacked to a section of guttering and a length of timber. Hazel was cut from one of the several trees in the garden.... 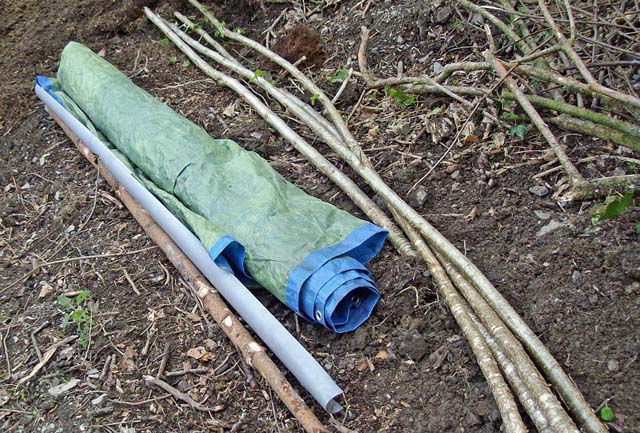 One of the neighbours had kindly given me a 50-gallon water-butt, so an appropriate-sized hole was started... 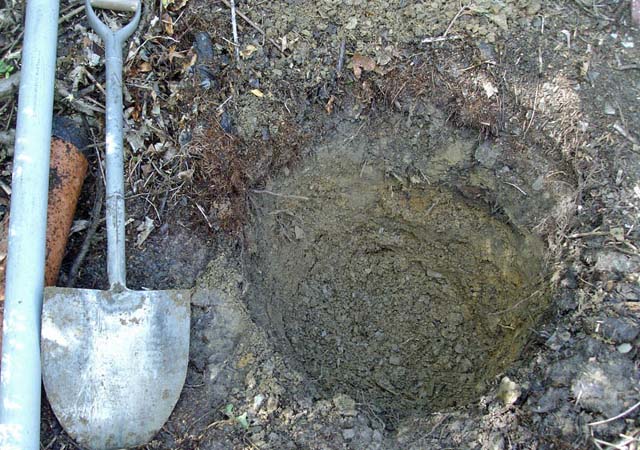 The bank behind was timbered-up to get the correct height-difference, with subsoil tipped behind the timber. The butt is here seen partly sunk-in - necessary again to get the correct height difference but will also help to reduce evaporation on warm days: 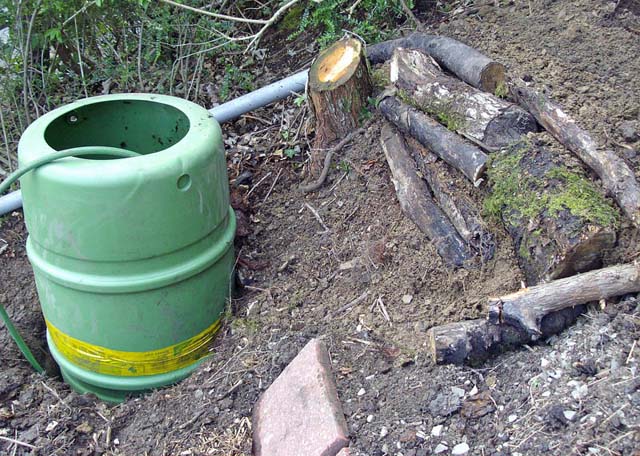 ....and the main structure - the tarp - set up above. 3m lengths of hazel, rolled up with the fabric, make the sides... 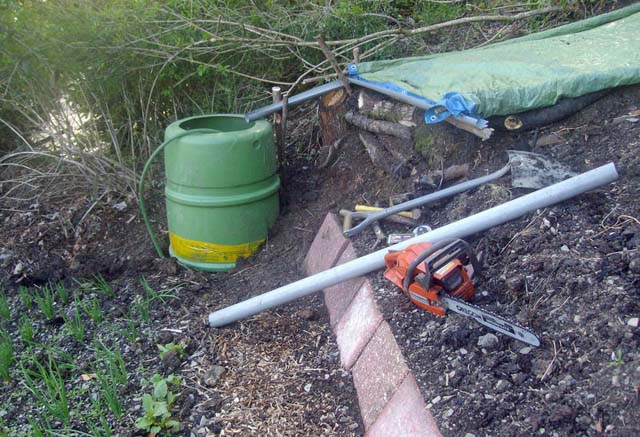 An overflow system leads to a second dug-in butt: 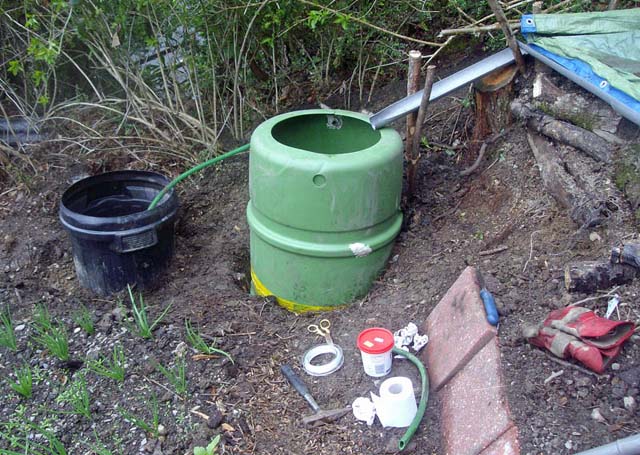 Here's an overview from above. Old roofing-slates and capstones at the top simply weigh it down a bit more. This gives a surface area of 3 square metres - so an inch of rainfall (25mm) would amount to 75 litres trappable, perhaps with a bit of loss from splashing and evaporation: 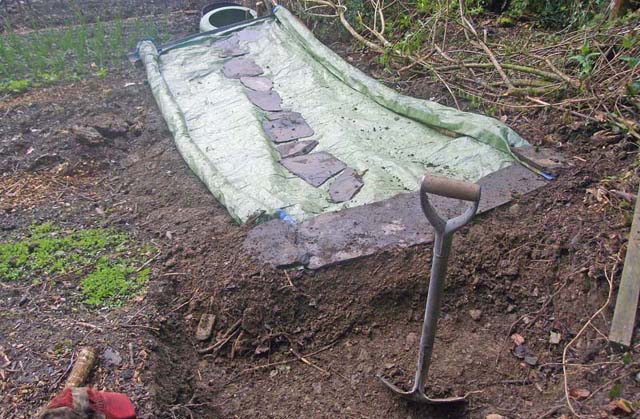 A heavy shower of rain one day allowed a demonstration-piccy to be taken! 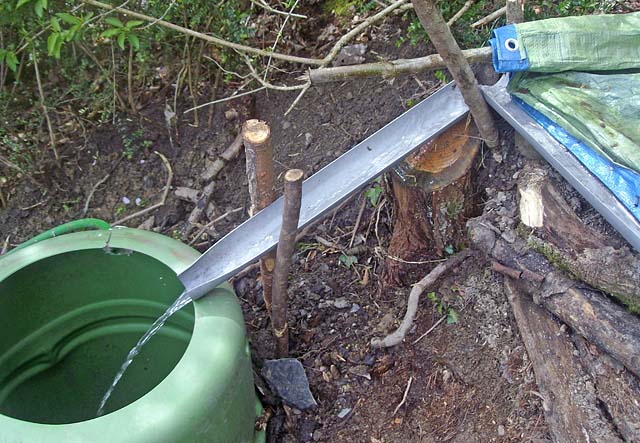 That's about it so far as building goes. The next part of this saga covers planting - read on! 1. Peak Oil &
the Transition Movement 2. Garden
Clearance 3. Garden
Rebuilding |
|
BACK TO WEATHER-BLOG MENU New! Fine Art Prints & digital images for sale- Welsh Weather & Dyfi Valley landscapes Slide-Library - Click HERE |